
James Hardie Siding: Cost, Benefits, and Installation Guide
Make an appointment
Get a Free Estimate Today
James Hardie Siding: Cost, Benefits, and Installation Guide
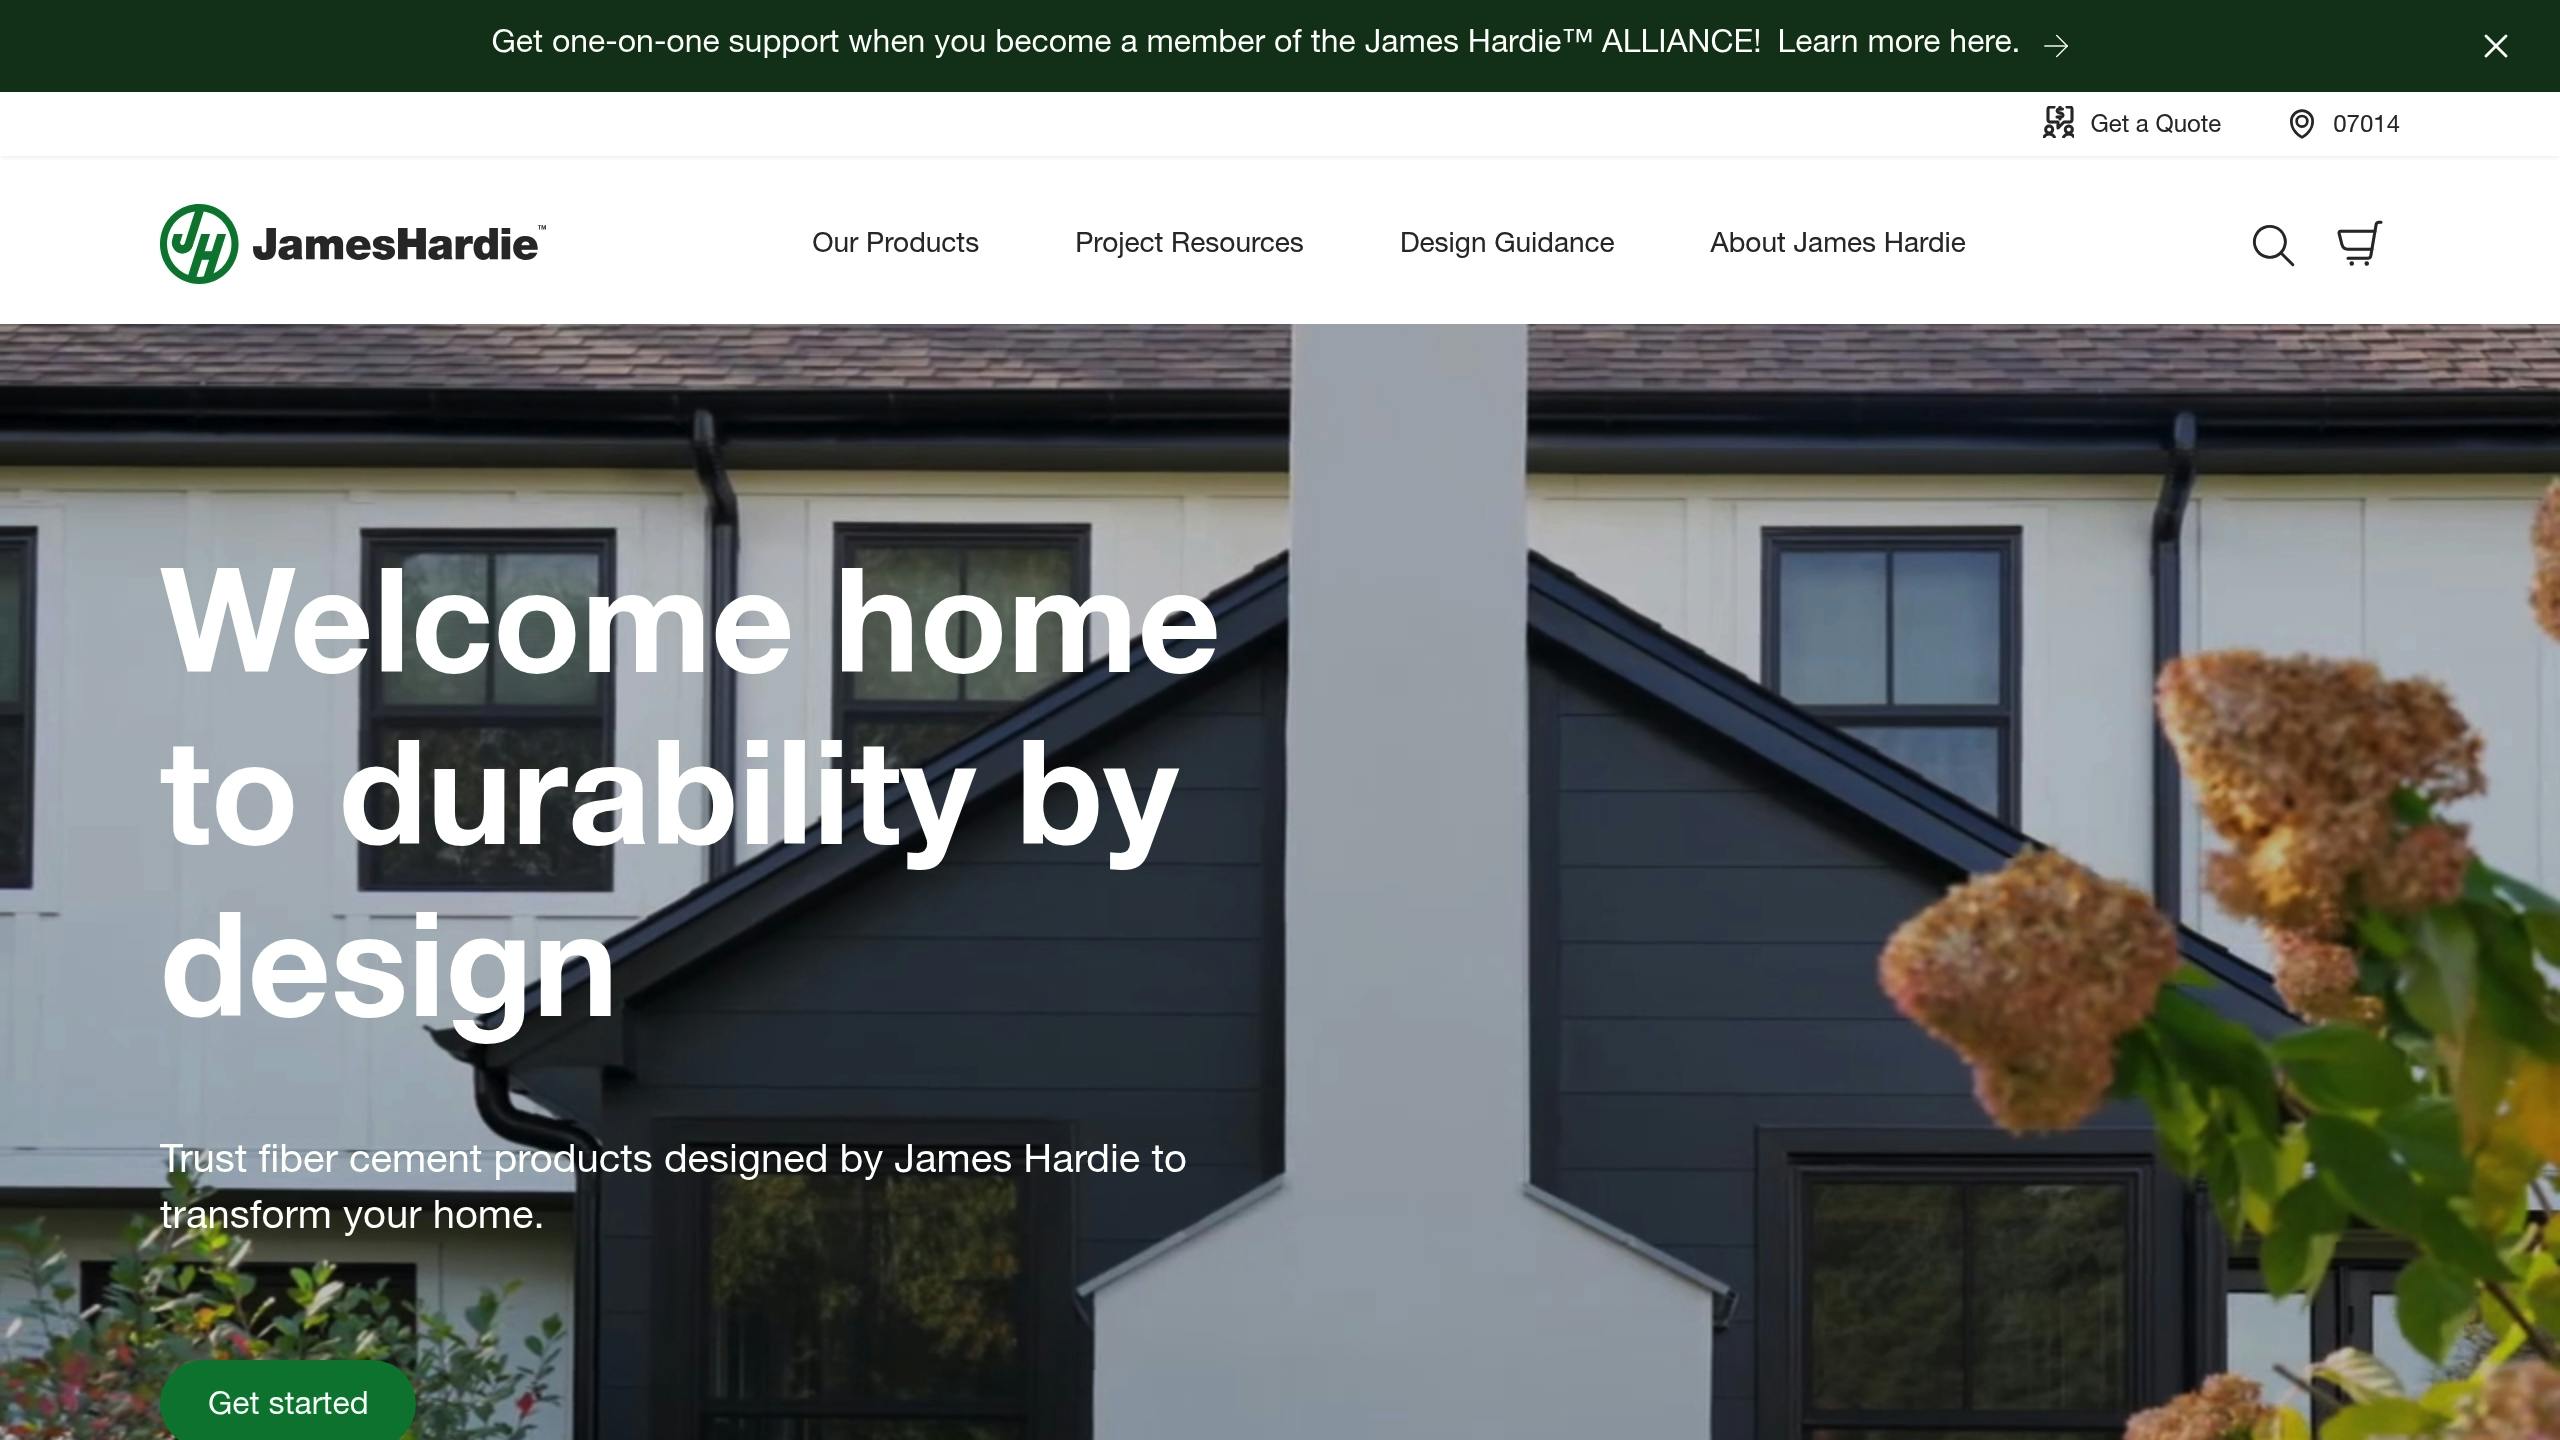
James Hardie siding is a durable, weather-resistant option for home exteriors, made from fiber cement. It’s designed to withstand harsh conditions, resist mold, and last up to 50 years with minimal maintenance. Although it costs more upfront than vinyl, its long-term durability and energy efficiency make it a cost-effective choice.
Key Highlights:
- Cost: $6–$15 per square foot (materials + labor).
- Lifespan: 30–50 years with a 50-year limited warranty.
- Weather Resistance: Withstands 150 mph winds, hail, and temperatures up to 300°F.
- Maintenance Savings: $150–$400 annually compared to wood siding.
- Energy Efficiency: Saves 12–18% on energy costs when paired with insulation.
Quick Comparison (James Hardie vs. Others):
| Feature | James Hardie | Vinyl | Wood | Brick |
|---|---|---|---|---|
| Cost/Sq Ft | $6–$15 | $3–$8 | $12–$20 | $15–$30 |
| Lifespan | 30–50 years | 20–40 | 15–25 | 50+ |
| Fire Rating | Class A | Class C | Class C | Class A |
| Maintenance | Low | Medium | High | Low |
For homeowners seeking a durable, energy-efficient, and visually appealing siding option, James Hardie siding stands out. Read on for a detailed pricing guide, installation steps, and tips for maximizing its benefits.
The True Cost of James Hardie Siding in 2024: Complete Breakdown & Hidden Costs
Pricing Guide
Understanding the cost of James Hardie siding is crucial for homeowners planning their investment. Although the upfront price is higher than vinyl, its durability offers long-term value. The total expense depends on factors like material selection, labor rates in your area, and local climate conditions.
Base Costs
Installing James Hardie siding typically costs $6 to $15 per square foot, with materials priced at $2-$6 per square foot and labor adding $4-$9 per square foot [6].
| Style | Cost per Sq Ft |
|---|---|
| HardiePlank | $9.67 [1] |
| HardiePanel | $11-$14 [8] |
| HardieShingle | $12-$18 [8] |
| Board & Batten | $12-$18 [8] |
For premium installations, such as custom designs or intricate layouts, prices can climb to $18-$40 per square foot when using certified contractors [1][8].
Extra Costs
Additional expenses to consider include:
- Old siding removal: $0.70–$2.00 per square foot [6][1]
- Trim installation: $6.24 per linear foot [6][1]
- Structural repairs: $3–$5 per square foot [6][1]
- Insulation: $1.00–$4.50 per square foot [6]
- Permits: $200–$800 depending on local regulations
Price Comparison
Here's how James Hardie siding compares to other materials:
| Material | Cost/Sq Ft | Key Features |
|---|---|---|
| James Hardie | $6-$15 | 50-year weatherproof warranty [6][8] |
| Vinyl | $3-$8 | Can warp in extreme temperatures [7][6] |
| Wood | $12-$20 | Requires frequent maintenance [7][8] |
James Hardie siding offers yearly savings of $150–$400 in maintenance compared to wood or engineered wood [1][6]. These savings stem from reduced painting and repair needs. Additionally, it provides 12-18% energy savings when paired with integrated insulation [1][6].
Key Features
James Hardie siding is known for its durability and performance, offering homeowners a reliable option for long-term protection and style. Its fiber cement makeup provides strong defense against various challenges while offering a range of design possibilities.
Weather Protection
James Hardie siding is built to handle tough weather conditions. With a Class A fire rating and hail resistance that’s three times stronger than aluminum, it offers peace of mind. Unlike vinyl siding, which can warp at 165°F, Hardie siding stays stable up to 300°F [8]. This makes it a great choice for areas with extreme temperature swings.
Here’s a closer look at how it holds up against natural threats:
| Threat Type | Protection Level | Comparison to Traditional Materials |
|---|---|---|
| Hail Impact | Class 4 (meets industry standards) | 3x stronger than aluminum [10] |
| Insect Resistance | 100% over 10 years | No structural damage vs. failure in wood [10] |
Design Options
James Hardie’s ColorPlus® Technology enhances both the look and durability of its siding. With a variety of product lines, there’s something to fit almost any design preference:
- HardieShingle®: Available in 22 colors for a range of styles.
- Artisan® Collection: Perfect for historic and classic designs.
- Custom profiles designed to meet preservation standards.
These design choices not only add visual appeal but also work in harmony with the material’s functional strengths, including its ability to improve energy efficiency.
Energy Savings
When installed correctly, James Hardie siding can help improve your home’s energy performance. Pairing the siding with insulation rated R-13 to R-19 can lead to:
- Better insulation thanks to tighter seams.
- Reduced expansion and contraction over time [4].
Its stability ensures consistent performance, even in varying temperatures [2].
"The combination of durability and energy efficiency makes James Hardie siding a compelling choice for homeowners looking to maximize their investment", says the National Association of Home Builders Research Center, which has recognized it as a "Green Approved" product [11].
Proper installation is key to unlocking these benefits, as outlined in the next section.
Installation Guide
Proper installation is key to ensuring James Hardie siding performs as expected. With its weather-resistant properties, careful attention to detail and the right tools are essential for success.
Installation Steps
Installing James Hardie siding requires careful preparation and specific tools:
| Tool Category | Required Items | Purpose |
|---|---|---|
| Cutting Tools | Circular saw with diamond blade | For precise panel cutting |
| Fastening Equipment | Pneumatic nail gun | Ensures consistent nail spacing |
| Measuring & Safety | Level, laser line, dust mask, eyewear | Ensures accuracy and safety |
Here are the main steps:
1. Ground Preparation
Start by elevating the starter strip at least 6 inches above the ground to prevent moisture issues [5].
2. First Row Installation
Attach the first plank with corrosion-resistant nails. Place nails ¾ inch from the top edge, spaced every 6-10 inches, and leave a ¼-inch gap at the ends to allow for expansion [4][5].
3. Subsequent Rows
Overlap each row by 1¼ inches, staggering the nails for better durability. Use chalk lines every 3-4 rows to ensure vertical alignment [2][4].
These steps help maintain the siding's energy efficiency and durability.
Common Problems
Mistakes during installation can reduce the siding's effectiveness. Here are some common issues and how to address them:
| Problem | Solution | Impact |
|---|---|---|
| Incorrect Fastener Depth | Adjust nail gun for flush placement | Prevents material damage |
| Insufficient Gaps | Leave 1/8" per 12' for expansion | Provides room for proper movement |
| Missing Moisture Barrier | Install a full house wrap | Protects against moisture issues |
Professional Installation
Hiring certified contractors can make a big difference:
- Expertise: Professionals complete the job efficiently and correctly.
- Reduced Waste: Certified crews typically waste 15-20% less material [12].
- Handling Complex Projects: Multi-story homes often require advanced skills, especially when dealing with the material's specific features [12].
Working with experienced contractors ensures a smoother process and better results.
sbb-itb-85e0110
Siding Material Comparison
When choosing siding materials, factors like durability, cost, and long-term performance play a huge role. These differences also affect installation needs and ongoing expenses.
Material Comparison Chart
Here's a breakdown of how major siding materials stack up across key features:
| Feature | James Hardie | Vinyl | Wood | Brick |
|---|---|---|---|---|
| Wind Resistance | 130 mph | 110 mph | 90 mph | 150+ mph |
| Temperature Range | -40°F to 120°F | -20°F to 100°F | Limited | Excellent |
| Lifespan | 30-50 years | 20-40 years | 15-25 years | 50+ years |
| Maintenance Frequency | Every 10-15 years | Annual | Every 3-5 years | Bi-annual |
| Fire Rating | Class A | Class C | Class C | Class A |
| Cost/Sq Ft | $6-$15 | $3-$8 | $8-$20 | $15-$30 |
Performance can vary depending on the region. For example, in humid southern areas, James Hardie siding outperforms wood in mold resistance by 23% [3]. Its moisture resistance makes it a strong choice for coastal and humid climates.
"While vinyl suits budget renovations, we specify Hardie for 70% of premium remodels due to its optimal balance of curb appeal and storm resistance." - Mike Conrad, Certified James Hardie Contractor [5]
Property Value Impact
Siding choices can also influence home values. According to the 2025 Cost vs Value Report, fiber cement siding delivers a 78% return on investment [12].
Insurance savings are another factor to consider. State Farm's 2024 guidelines highlight premium reductions tied to siding materials:
| Siding Material | Fire Risk Reduction | Insurance Premium Discount |
|---|---|---|
| James Hardie | 34% | 3-5% |
| Brick | 28% | 2-4% |
| Vinyl | 12% | 0-2% |
| Wood | -15% | +5% increase |
These savings, combined with lower maintenance costs (as outlined in the Pricing Guide), make materials like James Hardie a smart choice. Additionally, architects report that it offers 40% more design options compared to older materials [12]. For those planning renovations, it’s a solid option to consider.
Care and Upkeep
Taking care of James Hardie siding ensures it lasts for years and keeps looking great. While it’s easier to maintain than many other materials, sticking to a few specific care steps will help you get the most out of your investment. Regular maintenance also helps maintain the energy efficiency and design features discussed earlier.
Here’s how to keep your siding in top shape:
Cleaning Guide
Keeping the siding clean is key to preventing buildup and maintaining its appearance. A good rule of thumb is to inspect and clean it twice a year - once in spring and again in fall. Here’s how to do it:
| Cleaning Method | Tools/Materials | Special Notes |
|---|---|---|
| Basic Cleaning | Soft-bristle brush, garden hose (under 1,500 psi), mild soap | Safe for routine use |
| Stubborn Stains | 1:3 bleach-water solution | Test in a hidden area before applying widely |
| High-Moisture Zones | Soft cloth, mild detergent | Focus on areas like roof valleys and gutters |
"High-pressure washing voids ColorPlus® warranties - use gentle methods only [5]."
Repairs and Replacement
If damage occurs, address it quickly to avoid bigger problems. Smaller fixes are often straightforward:
- For cracks smaller than 1/4 inch, apply color-matched elastomeric caulk.
- Larger damage? You’ll need a professional to replace the panel.
Climate can also play a role in maintenance. For example:
- Cold climates: Remove ice dams as soon as possible.
- Coastal areas: Check fasteners every quarter.
- Humid regions: Inspect gutters monthly to prevent water buildup.
Warranty Information
To keep your warranty valid, certain steps and records are required:
| Requirement | Timeframe | Documentation Needed |
|---|---|---|
| Installation Registration | Within 90 days | Contractor certification |
| Maintenance Records | Ongoing | Dated service logs |
| Certified Contractor Proof | During installation | Proof of contractor clearance |
| Damage Documentation | As needed | Evidence of repairs |
"Proper documentation is crucial for warranty claims. We recommend homeowners create a digital folder with installation photos, maintenance records, and their original product registration confirmation", says Sarah Chen, Warranty Claims Specialist at James Hardie [9].
Conclusion
Key Takeaways
James Hardie siding offers a top-tier exterior solution that delivers long-lasting value. This value supports the upfront costs outlined in our Pricing Guide. Paired with its wide range of design options, it provides a well-rounded approach to home improvement.
Here are some standout features:
- 94% customer satisfaction rate over 10 years
- Exceptional hail and fire resistance
- A strong 50-year warranty
To get the most out of these features, professional installation is a must. Proper methods, as discussed earlier, are essential for achieving the best results.
Steps to Get Started
If you're ready to start your James Hardie siding project, here are a few important considerations:
| Step | Why It Matters |
|---|---|
| HOA approvals | Ensures compliance with community guidelines |
| Seasonal timing | Helps achieve the best installation conditions |
"The success of a Hardie siding installation heavily depends on proper planning and professional execution", according to a recent industry analysis [5].
As noted in our Warranty section, be sure to keep detailed records of WRB materials and specific trim cost estimates from your contractor [2][5][13]. This documentation safeguards your investment and ensures you get the most out of it [1].
FAQs
What is the going rate for Hardie siding?
James Hardie siding installation generally costs between $5 and $15 per square foot, covering both materials and labor. However, the final price can shift based on factors like location, product style, and finish options [12][3].
Here’s what can affect the total cost:
- Location: Prices can vary by 15–30%, depending on your region [12].
- Product Style: For instance, HardiePlank® lap siding costs about $4 per square foot, while HardieShingle® is priced at $5.25 per square foot [3].
- Finish Choices: Factory-painted siding adds around $1.50 per square foot, but it lowers maintenance needs over time [12].
For more specifics on regional pricing and insulation requirements, check out the Pricing Guide section above.